One question that comes up in conversation a lot recently is where App Virtualization stops and App Layering starts. There are typically no wrong answers when attempting to design application solutions around both App Virtualization and App Layering, but what is clear so far is that App Layering has a wider compatibility with enterprise applications. There seems to be another option, why not combine them for a best of breed solution for enterprises. This blog entry will examine the combination of FlexApp Layering from Liquidware Labs and ThinApp from VMware.
A number of years ago when I first started working with ThinApp, I was told they would run faster if they were launched from the local disk versus a network share. For physical or persistent OS, this can be accomplished by copying the ThinApp package locally and then running thinreg.exe against the file(s) or by packaging the application with ThinApp as an .msi package and installing it on the OS. For non-persistent desktops, copying the files locally or running the msi version isn’t really an option because this would need to be done each time a user logs on to a desktop.
Now that ProfileUnity can deliver applications on a VMDK with FlexApp to virtual desktops, I thought I would show how easy it is to deliver ThinApp packages on a VMDK with FlexApp.
Step 1 – Logon to your workstation for packaging FlexApp Layers
Step 2 – Open the FlexApp Packaging Console and login.
Step 3 – Click Create
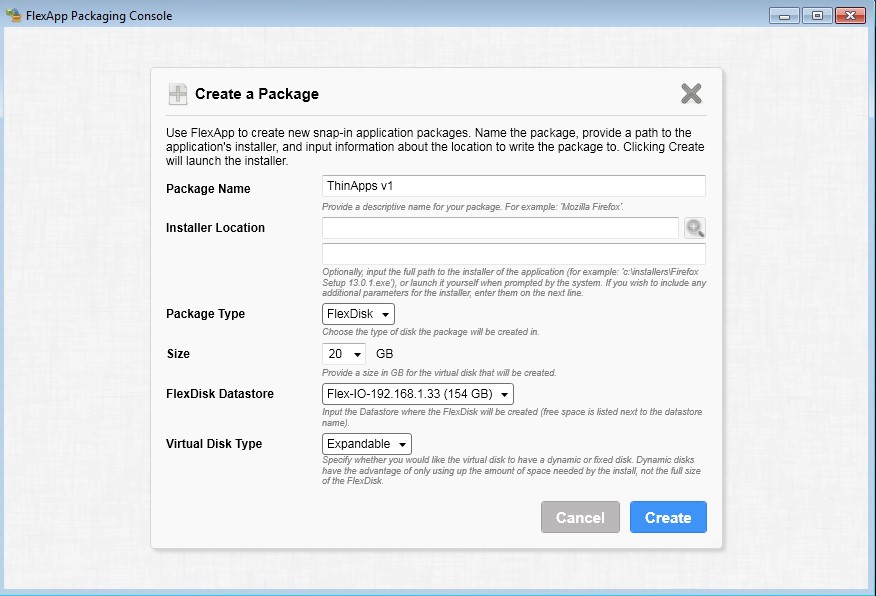
Step 4 – Enter a package name, set the package type to FlexDisk, set Size of the VMDK and select the datastore, then click Create.
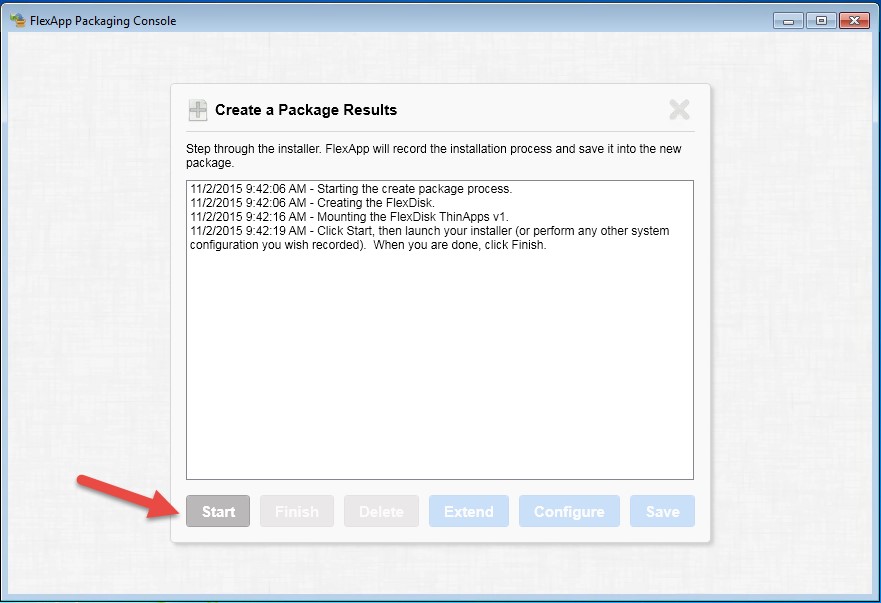
Step 5 – Click Start to begin capturing changes.
Step 6 – Create a folder on the root of the C: drive. Such as C:\ThinApps
Step 7 – Copy your ThinApps and thinreg.exe file to the C:\ThinApps folder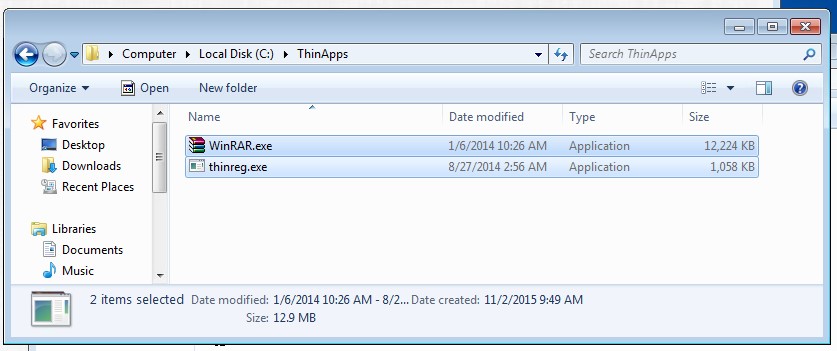
Step 8 – Click Finish. The FlexApp Packaging Console will optimize and deactivate the VMDK.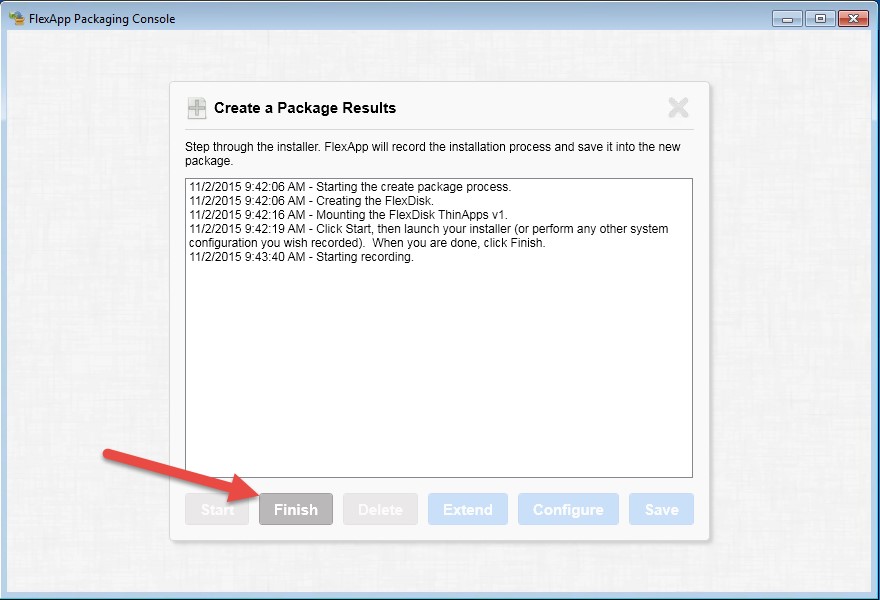
Step 9 – Click Save
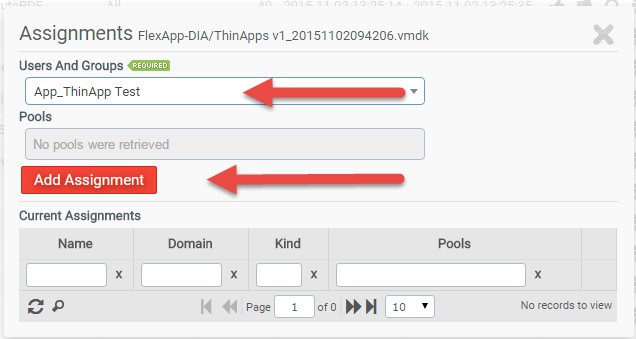
Step 10 – Assign the VMDK to user from the ProfileUnity management console.
- Open the ProfieUnity management console
- Click on FlexDisk Management Â

- Click on the Assignemnts button for the application.

- Type in the user or group to be assigned the application and click “Add Assignment”.
Step 11 – Configure ProfileUnity to register the ThinApp Application.
- Open an existing configuration from Configuration Management

- Click on the ThinApp icon

- Click onÂ

- Select a Filter
- Set Action to “Run from Network”
- Set the ThinReg Location to C:\ThinApps\thinreg.exe
- Set the ThinApp Package to C:\ThinApps\*.exe
- ClickÂ

- ClickÂ

Step 12 – Deploy the update configuration file to the ini path.
Note:Â If you have multiple ThinApp packages stored on the VMDK, you could create a rule for each ThinApp using a different filter if necessary.
ProfileUnity from Liquidware Labs has been able to deploy ThinApp packages for a few years now. The ability to place ThinApp packages inside of FlexApp Layers for even greater deployment efficiency is a tremendous benefit to enterprises.
By combining an application virtualization solution like ThinApp with the FlexApp Layering technology, the enterprise can maintain a more efficient application strategy across a wider range of applications.
We welcome you to try this out for yourself  - Download Trial Versions
Authors – John Flatbush  Sr Solution Architect
Ray Dusseault – Director of Application Strategy




[…] Read the entire article here, Delivering ThinApp packages within a FlexApp Layer using ProfileUnity […]