

To continue our Microsoft 365 blog series, today we will be focusing on Microsoft Teams and how Liquidware can help businesses manage and deploy it.
For those that don’t know, Teams has been developed as the successor to Skype for Business and Microsoft’s answer to group-chat applications such as Slack. Unsurprisingly, Teams has seen a massive uptake within businesses and there has been significant push on developing new features as quickly as possible (Microsoft have taken the approach of basing Teams on Electron).
In order to ensure this rapid development cycle and for it to be updated without administrative privileges on the endpoint device, Microsoft has developed Teams to install itself within the user’s local appdata rather than Program Files. For physical endpoints that have single users this is fine but causes significant issues for administrators who manage a virtual/non-persistent/hot desk environment.
Microsoft’s guidance for these environments can be found here: https://docs.microsoft.com/en-us/microsoftteams/teams-for-vdi, but to summarise:
- Deploy using the Teams’ MSI into your gold image, which upon user first time login will install the full application into the user’s local appdata
- Utilise local profile redirection technologies such as Liquidware’s Profile Disk or Microsoft’s FSLogix to allow Teams to roam between devices
Unfortunately, this still leaves administrators will several key headaches:
- Teams is not a small application, at least 300MB in size. If redirected to a VHD profile technology, this will significantly increase the storage requirements for user profiles
- When installed via the MSI within the gold image, this disables auto-update. For many this is an advantage, but Teams has a rapid update cycle. Microsoft recommends the gold image being updated every month
- If you want to only provide Teams to a subset of users, this means having an additional gold image
- The auto-install element of Teams can bring performance issues if not disabled correctly
For more information on some of these challenges we recommend reading other industry expert blogs on the subject such as this one by James Rankin: https://james-rankin.com/articles/microsoft-teams-on-citrix-xenapp/
It should be noted that Microsoft are currently working on a true machine-wide version of Teams that will place it within Program Files. Unfortunately, we aren’t sure when this will be released and if it won’t still place certain key elements of the application inside local appdata.
Does this mean this our only option for deploying and managing Teams? No, there is another…


Enter FlexApp! Liquidware’s application layering technology can capture applications into a VHD and snap them dynamically into a Window’s desktop as a natively installed application. How does this help us with an application which installs itself inside local appdata? Well, there is nothing quite like a demonstration…

As shown above, utilising FlexApp’s unique capturing technology we are able to capture Teams within Program Files and deliver it to the end user’s desktop. This helps resolve the issues previously mentioned and brings several key advantages:
- The user’s profile is no longer bloated by the Teams install and no need for messy profile exclusions
- Teams can be filtered to only be provisioned to users who have the rights to it at login, no need for multiple gold images
- Teams (and other FlexApp delivered applications) can be updated and delivered to end users without having to update the gold image and tested without multiple desktop pools/delivery groups
- Updating and provisioning Teams via FlexApp is faster than updating your desktop pools/machine catalogs
- Auto-start is automatically disabled, and shortcuts are linked directly to the application, not auto-update
- No need for a VHD profile tool as user login details can be persisted with the O365 licensing token
- FlexApp packaged applications can be stored on file shares or cloud object storage (e.g. Azure Storage Account) and be natively replicated between locations within the console, allowing for a one-time update for applications to be available across sites and regions
Now as with all things, we must caveat that this is not the Microsoft supported deployment method for Teams. However, what we wanted to showcase today was the range of FlexApp’s capturing process. Microsoft Teams is a great example of how FlexApp can manage different installation types and help administrators deal with difficult applications.
For those of you that have FlexApp (or have downloaded the trial: https://www.liquidware.com/download?verify=dform) and want to try it yourself, we have detailed the steps for capturing Teams using the FlexApp Packaging Console and delivering it to your test users below.
Prerequisites:
- Windows Server virtual machine with the Profile Unity management console installed and initial configuration completed: https://www.liquidware.com/content/pdf/documents/support/Liquidware-ProfileUnity-Installation-Guide.pdf
- File share for the FlexApp packages
- Windows 10 virtual machine with the FlexApp Packaging Console (FPC) installed and optimisations applied. The optimisation script can be found on our github: https://github.com/liquidwarelabs/FlexApp/tree/master/Win10%20FPC%20Optimization%20Scripts
- Ensure the FPC virtual machine is snapshotted in a clean state so that we can revert once we have completed the capture of Teams
- Microsoft Teams installer downloaded: https://products.office.com/en-us/microsoft-teams/group-chat-software
Now let’s going:
- Start your FPC virtual machine and install Microsoft Teams via the exe so it appears in local appdata


- Next create a folder on the root of the C:\ drive of your machine (you can call it whatever you please, I’ve simply called it Microsoft Teams) and copy the Teams application folders into it

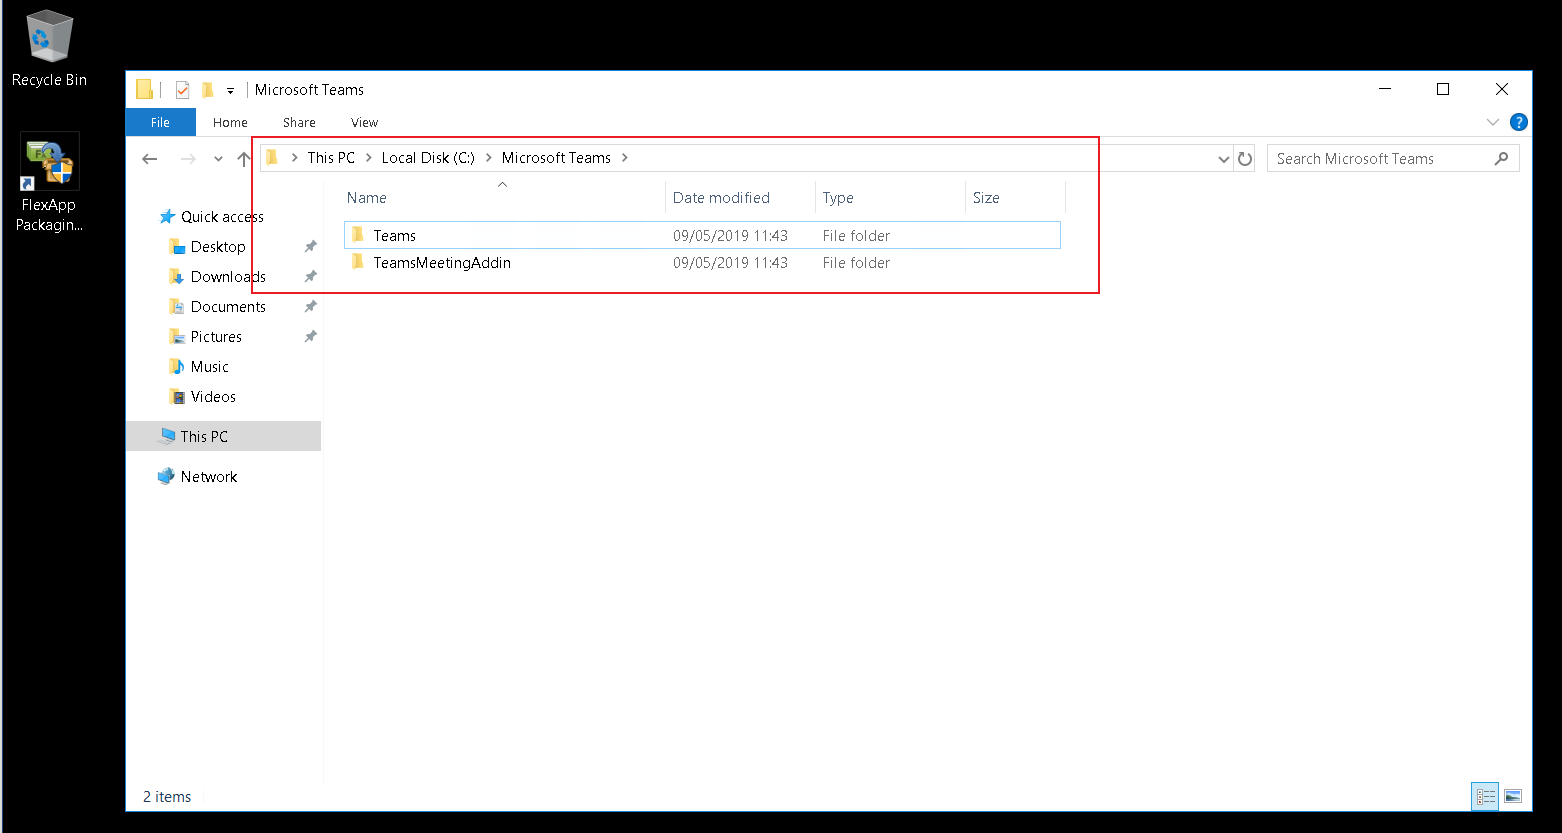
Note: We have done this so that when we begin the capture process, the FPC will see the copy process of the application from C:\ to Program Files. We need it to start here as the FPC will not capture what is coming from local appdata
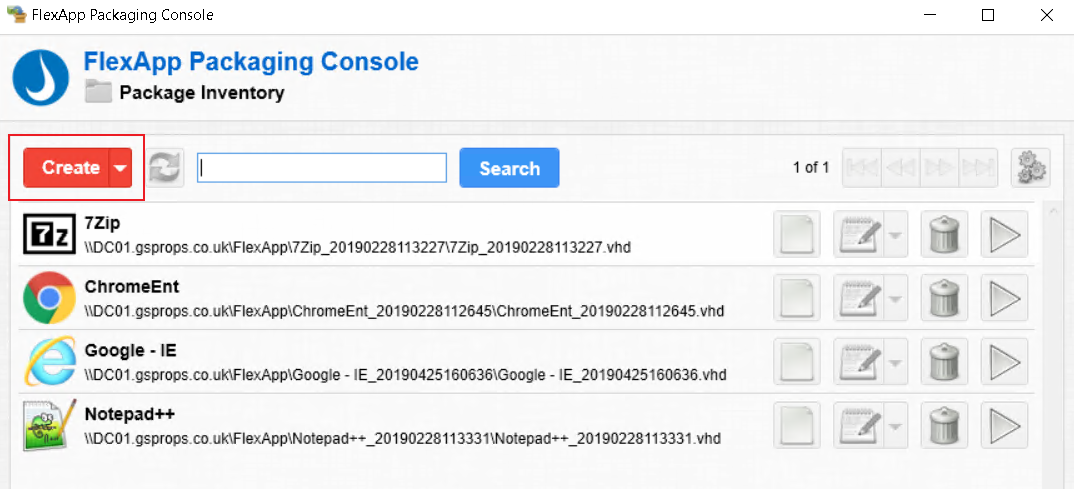
- Launch the FPC application and select Create

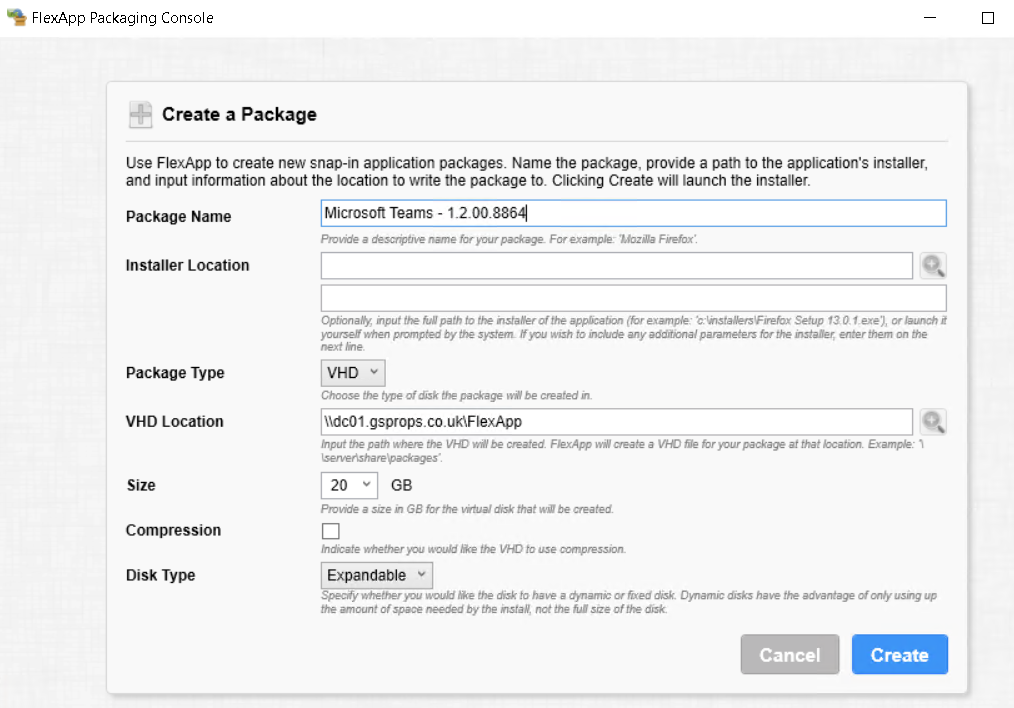
- Fill out the package name (I recommend the app name and the version number to make it easier when capturing an update), leave the installer location blank and fill out the location you want the app package to be created to. It is recommended to leave the defaults on no compression and expandable disk type so that the VHD only takes up the size of the application and not the full disk size

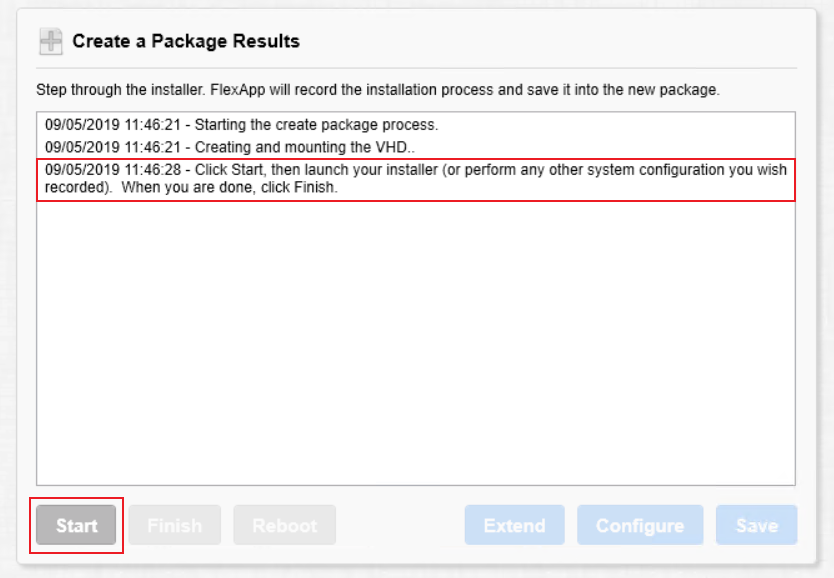
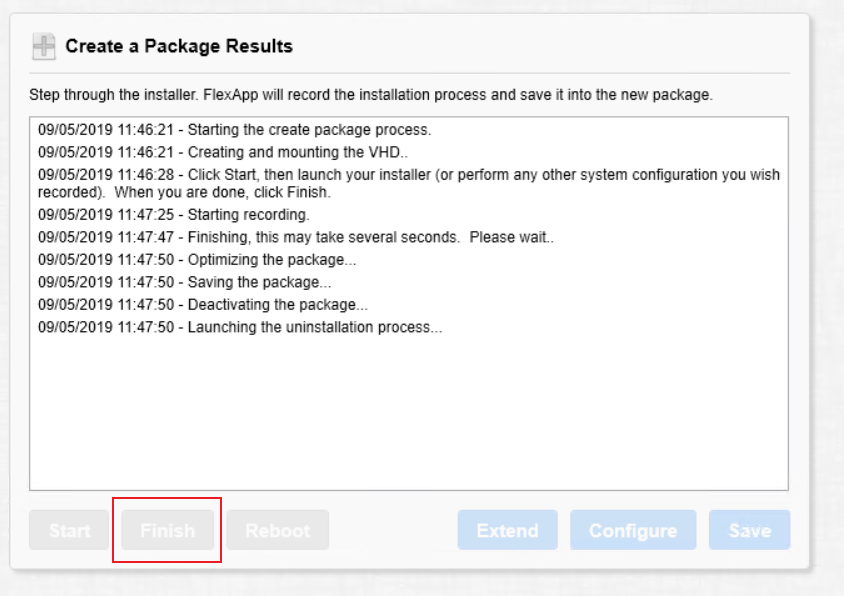
- Select Create and let the packager process startup. Once prompted, select Start

- Copy the Microsoft Teams folder that you previously created in the root of C:\ (and had copied the Teams application to) into Program Files


- Once the copy process has completed, switch back the FPC application and select Finish

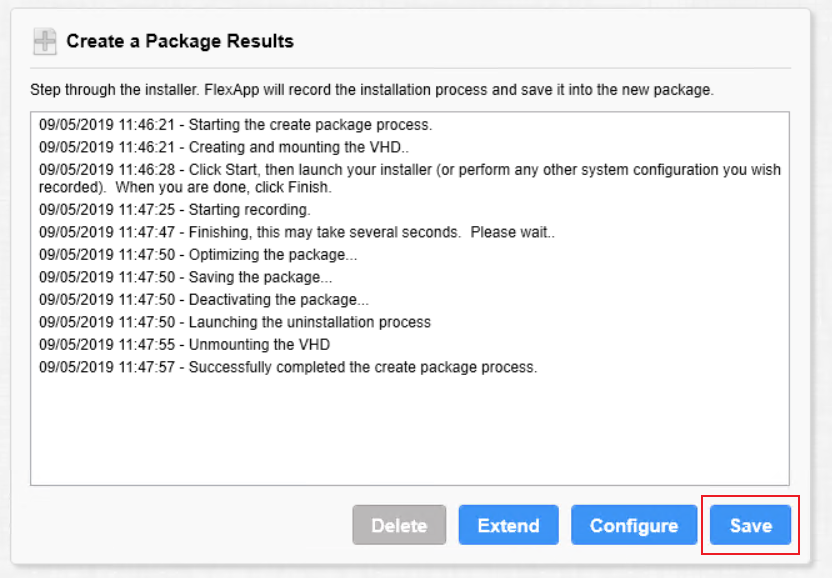
- Once the FPC process has finished, select Save (we will edit the package in the main console)

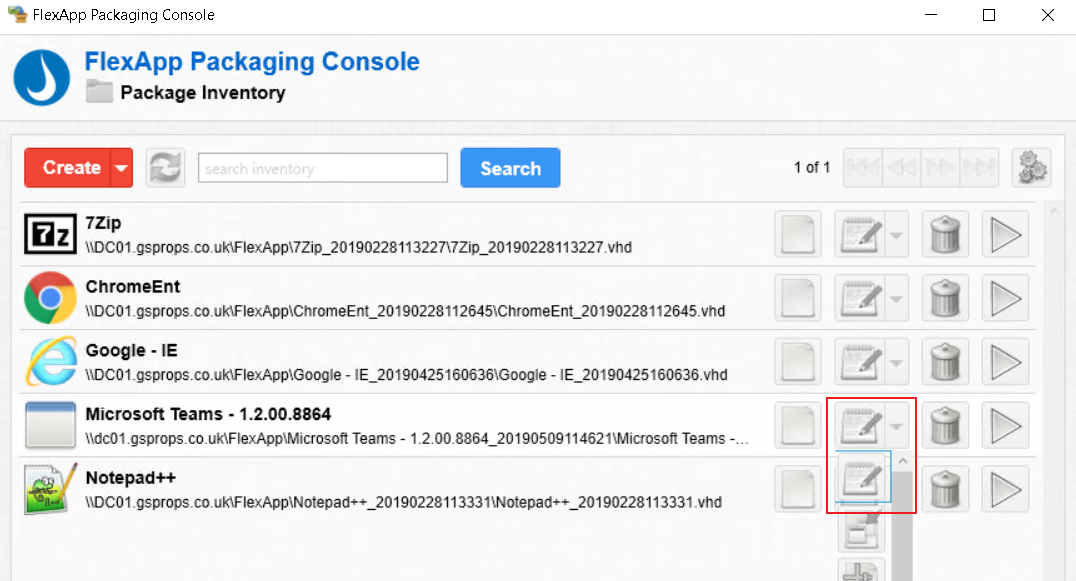
- Now that the application has been successfully packaged, there are a couple of extra tasks to get it ready for our end users to consume. Back in the main FPC menu, you should now see your Teams package. On the right-hand drop-down menu select the Edit button

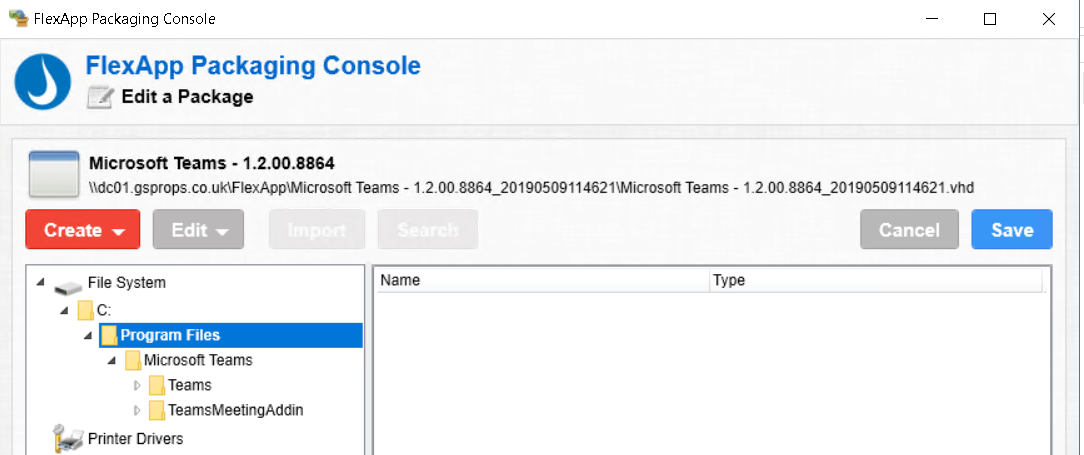
- In the edit screen, you should now see everything that has been captured in the package. For example, under File System we can see that Teams now exists within Program Files.

Tip: During any package process, it is likely some noise has been captured within the package that we don’t need. A prime example of this when capturing Teams are some unwanted regkeys within HKCU which we can delete to help make the package smaller. This same functionality to amend regkeys without re-capturing the application means that you can also add regkeys that you might need at a later point.
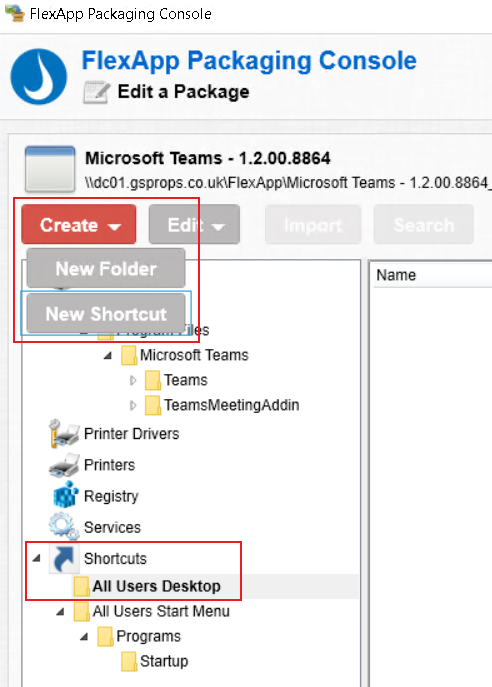
- We now want to add in the Shortcuts so that Teams appears on the user’s Desktop and Start Menu. Select Shortcuts > All Users Desktop on the left-hand side and then Create > New Shortcut

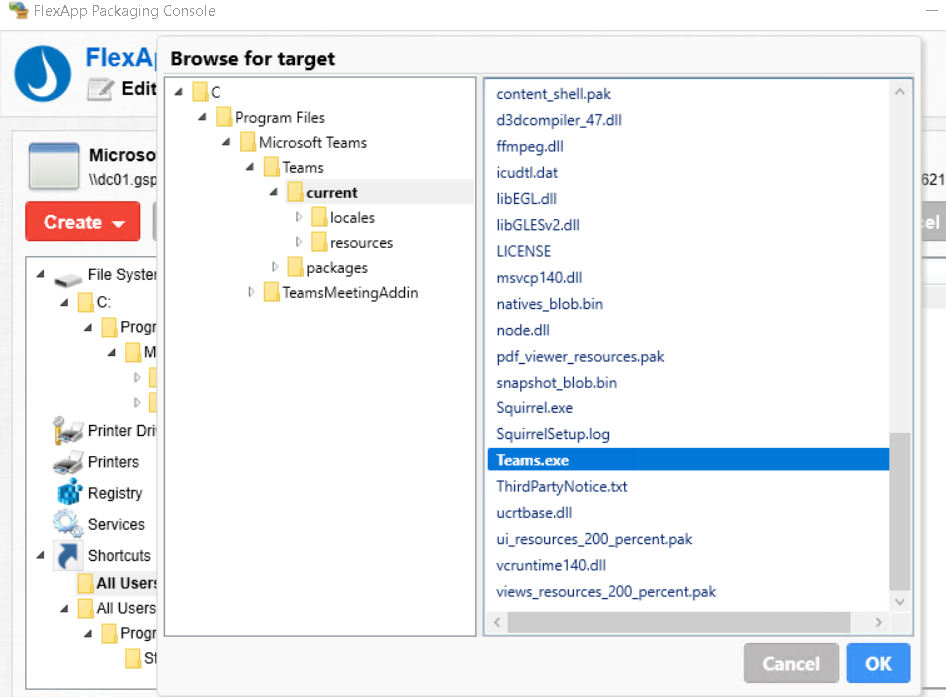
- Fill out the name of the shortcut (Microsoft Teams for example) and select the executable for the application in the Target field. For our Teams package this will be in the Program Files folder, then Teams > current > Teams.exe

- Once this shortcut has been created, we can do the same process for All Users Start Menu. I would recommend creating a new Folder first under All Users Start Menu and then creating the shortcut within there


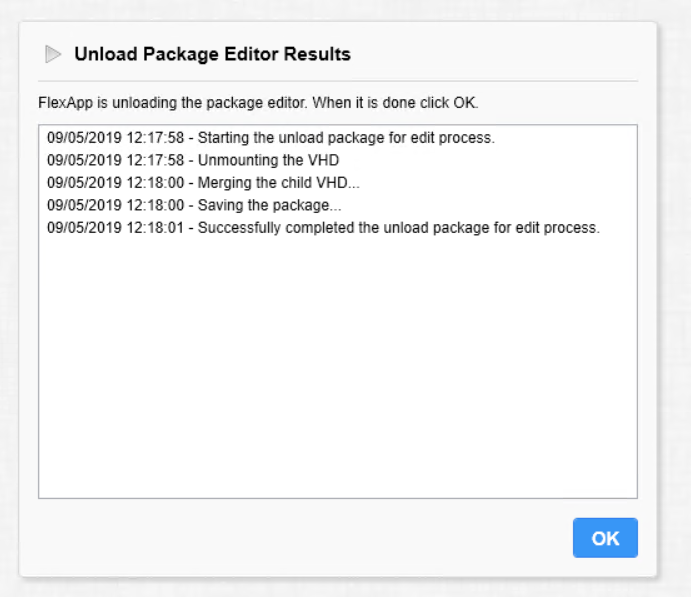
- Once done, hit Save and then OK once the package has finished updating itself

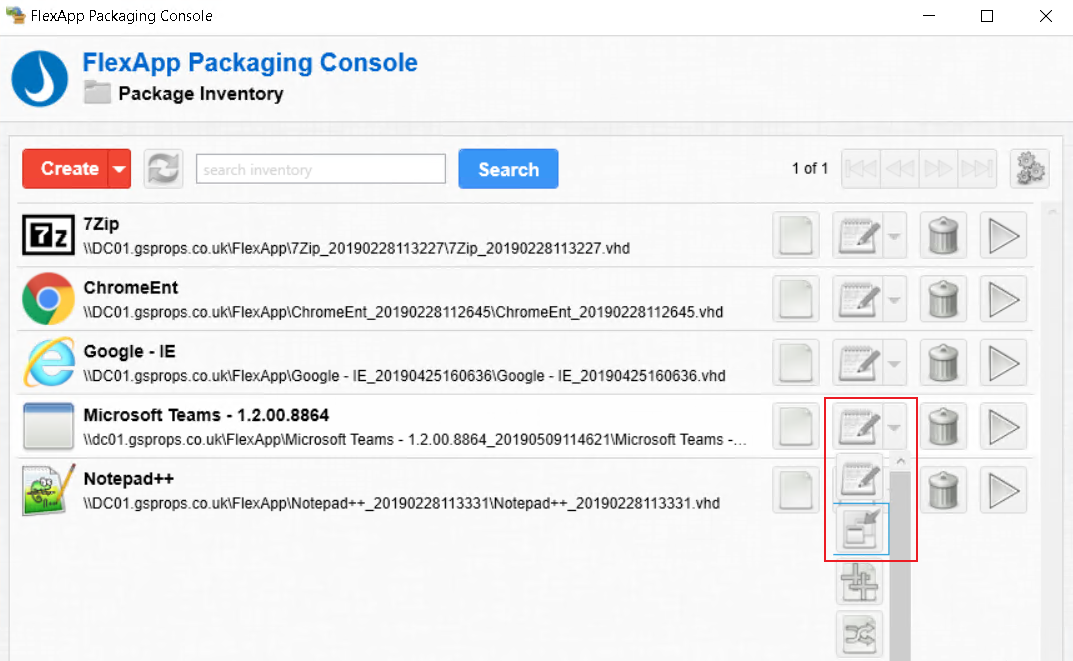
- Back in the main FPC menu we now need to add the Teams icon to make it easier to find within the console. In the right-hand drop-down menu select to edit the metadata

- In New Icon Location, browse to your current local installation of Teams and select any of the executables for the FPC to obtain the icon. Once done select OK


- Now is the time to test your captured Teams application! First thing is to make sure that you uninstall the current local Teams application on the FPC in Apps & features (or revert the FPC virtual machine back to a clean slate and log back in to the FPC once it has restarted)


- Once you are on the now clean FPC virtual machine, within the FPC menu select the Play icon on the right-hand side of the Teams package. This will mount the VHD from the file share to the FPC virtual machine. You should now see the application shortcuts you just created appear on the machine

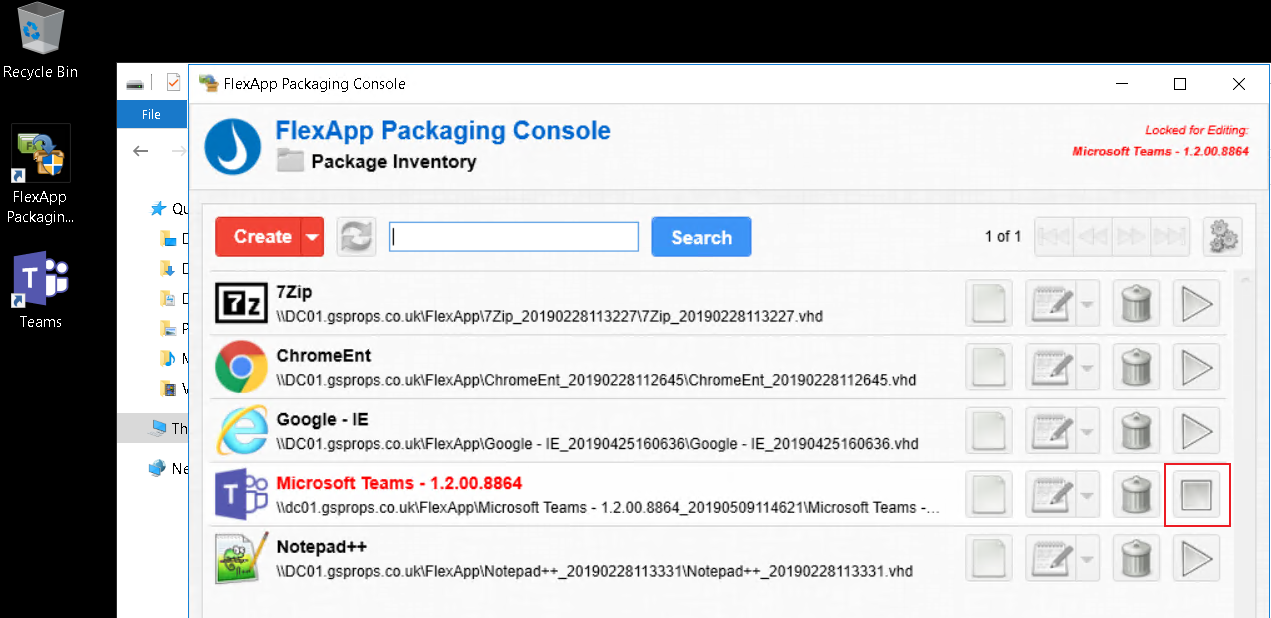
- Now select one of your shortcuts and Teams should launch!


- Once you are happy that the application is working as expected, you can select the Stop button and then provision the package to your desktops as per any FlexApp package. If this is your first time capturing a FlexApp package then be sure to follow this guide for next steps: https://www.liquidware.com/content/pdf/documents/support/Liquidware-ProfileUnity-FlexApp-Packaging-Console-Manual.pdf
And that’s it! I hope this helps some of those administrators out there currently struggling with difficult applications in a virtual/hot desk environment and show cases just how flexible and powerful FlexApp is.
P.S thanks to Jason Mattox (Liquidware CTO) and David Bieneman (Liquidware CEO) for the idea behind this blog!